Sunday, October 13, 2013

Gas Line Connected

Gas Line Trenched from the Street to the House

The Trench has a Sand Base Ready for the Line

Gas Company Workers Connecting the Line

The Line (black) is Laid in with Wire (yellow) to make it easy to find
 
 After the Line is In they Cover it with More Sand

The Yellow Tape, which is left in the Trench, is an Early Warning to Any Digging

And the Yard is brought back to Normal. Relatively Speaking

And the Meter is Installed
 
 
We’re fortunate enough to have gas pass by our house out in the street and have decided to connect to it for our heating, hot water and cooking. Over the past few weeks we’ve been watching the progress of the line installation. It takes more than a few days because of all of the steps required and the necessary inspections.
 
The trench has to be the right depth with a base of sand. Then the line has to be laid with a heavy wire so a metal detector can find it if needed. Then it is connected to the street and the house. After that a cover of sand is placed over the line. Then yellow tape is laid over the sand so that if any one starts digging they’ll be forewarned that digging a little more could result in being removed from everyone’s Christmas present list. Lastly, as far as trench work goes, they then put top soil over it all.
 
Once that’s all done and all inspections have been passed, they bring in the meter and connect it. Then there is work to be done in the house. But that’s another day. All told, it’s taken about three weeks from trenching to gas meter.
 
We’re happy that it’s now all connected. With the upcoming cold weather, they will stop doing the installs once the ground freezes. Fortunately we’ve beat that and we’re now ready for a cozy house in the winter.
 
Enjoy your day.


Thursday, October 10, 2013

Wrapping Up the Insulation

Dining Room Wrapped in Insulation

Living Room Completed

Living Room Ceiling

Insulation Tucked Behind the Recessed Lights

Windows and 2x6's Filled with Foam

Master Bedroom Wall

I Hung Insulation Myself to Sound Proof (sort of) the Wall


Tub Wall in Bedroom 2

Insulation to Cut Down the Shower Noise

Master Bath Wall

After Insulation- Ya, it's really not green

The insulation has been completed. It only took about two days and it all looks great. Bats have been laid in every nook and cranny creating an envelope between inside air and outside air. They also sprayed foam around all the windows as well as 2x6’s that were sistered together. This will help to help reduce air infiltration. You can already feel how tight the house is.
Normally I’d be concerned about not having fresh air finding its way in but because we have forced hot air as well as air conditioning, that shouldn’t be a problem. The heating unit draws air from the outside which means that the air should be exchanged on a regular basis.
I took advantage of a lull in the work to hang insulation on the inside walls in order to reduce noise. I hung it on the Master Bedroom wall between the Living Room as well on the walls of the Master Bath and Guest bath and Laundry room. I also hung it on the wall in the bedroom that has the tub next to it. I’m hoping it will reduce the noise from the tub when showering as well as afford a level of privacy to occupants.
I looked like an alien with long sleeve shirt, ball cap, gloves and mask. But not breathing it all in or itching like a wild man made the look worth it. Hopefully the sheetrock will come in soon and we can get all the insulation covered and have interior walls. Like a normal house.
Enjoy your day.

Monday, October 7, 2013

Starting the Insulation

R-38 Insulation Bats for the Ceilings

 
R-30 for the Walls

Plenty to Go Around
 
Dining Room Ceiling Completed

One Bedroom is Already Done
 
The Rafter Baffle Allows air flow from the Soffit Vents to the Ridge Vent
The airflow helps to increase the life of your roof

This is what they look like on their side
 
I stopped by to find that the insulation had been delivered and that they had already started to install the bats in the walls and ceilings.

They’ve come a long way with insulating houses where they used to stuff rags or anything that was available into the cracks to where we are today with the many types of insulation that are available for house construction.  Our outside walls are constructed using 2 x 6’s which allows us to have even more insulation on the outside walls.

Insulation is measured by its R value which is the measure of its resistance to heat flow.  Although the R value is not the only way to measure insulation, it’s pretty much a standard term used by everyone. The higher the value, the better its ability to keep the cold out.

The main idea is to have an envelope with the living area inside the envelope staying warm (or cool) surrounded by insulation which keeps the cold (or heat) out. But just throwing insulation up is not enough. You need to make sure the house can breathe or else you can wind up with a moisture problem which in turn can lead to mold or rotting wood. This is done by leaving a small amount of space between the insulation and the outside wall. I’m sure that there’s a lot more to it than that. But you get the idea.

It looks we’re heading into the next phase of construction with the focus moving to the interior. Yay!

Enjoy your week.

Saturday, October 5, 2013

Paint Chips & Coffee

Paint Chips with More to Come
I'll get a better picture once the sun comes up

Bad mistake.
I got up a little late today. Later than my better half. And she had already had a cup of coffee. And she wanted to talk about selecting health insurance. My company has started to push their upcoming health care selection process. And it has a narrow window from the end of October until mid-November. Yes, only 14 days to decide how your money is going to be  taken out of your pay check and used by everybody else for the next year. And how much of a co-pay that you’re going to suffer with for the next year as well. I hate this stuff and always checked off the same thing as last year. But she analyzes it much more than I do. And now she wants to talk about it. Early on a Saturday morning.
After we got through that I thought, oh good, I can sit here quietly, drink my coffee and read the blogs that I follow to see how the normal people who aren’t building houses live. The ones who get to enjoy life. And also read the blogs of the crazy ones who are going through some sort of rehab on their homes. Birds of a feather…
But instead she wanted to talk about paint colors for the new house. It wasn’t even 8 and it’s another subject that I know I can either give my opinion on which doesn’t really matter or engage her like I’m interested. So I did the right thing and suggested that we paint one of the guest bedroom walls red. She gave me that look of like “are you crazy?” And said, “We’re not doing that.” She then went through all the paint colors and told me why each color was going to work. My coffee hadn’t even started to cool never mind wake my brain up. And then she asked me what I thought about all the colors the she had selected. I knew it was a test and saying I like them wasn’t going be enough. I was doomed to fail.  And I did with flying colors.
Trying a different tack, she then gave me the kitchen paint chip along with a slab of the granite counter and said “do you like this?” I pondered. Rubbed my unshaven chin and made noises like my brain was in gear. Pondered some more. And again I did the right thing by saying “I don’t think they match.” She snatched it away. I knew my paint selection morning was done.
Thank God. Now I can go back to drinking my coffee.
Enjoy your weekend.


Thursday, October 3, 2013

Vent Fans & Garage Doors

Guest Bathroom FanTech Vent Fan
The fan motor is mounted in the attic to reduce noise

Master Bath Fan
Looks like Robot from Lost in Space
(Google it if you're young)

The Master Bath has Two Vents
 
Fan Vent with Light
Once the sheetrock is up, none of it will be seen
 
Garage Doors are In

Inside

The Electric Openers Look Like they belong on the Space Station

The Supports are about 8 feet long because of the high
Garage Ceiling

The FanTech fans have been installed in both bathrooms. Unfortunately, the switches won’t be installed until after the sheetrock is done so we couldn’t try them out. The fan for the Master Bath pushes 270 CFM and the vent hose is a 6 inch hose instead of the normal 4 inches. It looks industrial, but that will be behind sheetrock so it will never be seen. And it’s not supposed to be heard either. Can’t wait to try it out.
Garage Doors have been installed so now all of the openings have been filled with doors or windows. Before the electric opener was installed I was able to try opening and closing them by hand. I was impressed with how light they seemed. I’m guessing the door itself is light but the springs are tuned just right so they help a lot as well. The electric door openers are a bit weird looking but what the heck, as long as they work, who cares what they look like.

More parts to the puzzle have been completed. With still more parts to come. Cool.


Tuesday, October 1, 2013

Trusses

Trusses Looking Over the Master Bedroom Towards the Living Room


The View Towards the Dining Room
 

Over the Hallway Towards the Guest Bathroom
The light (dot) at the end of the Tunnel is the Future Bathroom Vent
 

Living Room Ceiling with Skylights Ready to be Boxed In


From the Kitchen Towards the Living Room
That's the Vent Pipe for the Kitchen Fan
 
 
The Gang Nail Truss Plates tie the Trusses Together


Close Up of the Gang Nail Truss Plates
Don't try these at home - special machines are used to press
them into the truss chords
 
A Tie is used to Connect the Truss to the Top Plate of the Wall
These Ties keep the Roof from Lifting Off in a Hurricane
 
With the rough wiring and plumbing completed I thought I’d take a few pics of the trusses before they are covered with insulation and then sheetrock.
 
It’s amazing to see the intricacy of their engineering. By themselves, the chords of each truss would only hold so much weight. But when tied to together at the right angles and lengths they can hold so much more weight. I suppose there are advantages and disadvantages of using trusses versus roof rafters, but I don’t know what they are. I do know we’ve got great roof lines on the outside and a great cathedral ceiling on the inside in the Living Room.  
 
There is also an opening so I can go up in the attic if I needed to. But I can’t think of any reason why I would. We have plenty of storage in the house so my plan is to never need to put anything up there. Except for maybe a candle light or a Santa at Christmas or a witch at Halloween in the window of the fake room (Wait? What? Yes, it’s to break up the roof line and there isn’t a room up there.)
 
At any rate, I just wanted to share a few pics so you can see what trusses look like in place.
 
Enjoy your day

Thursday, September 26, 2013

Rough Plumbing

The Tub is In
 
Washer Hook Ups & Drain

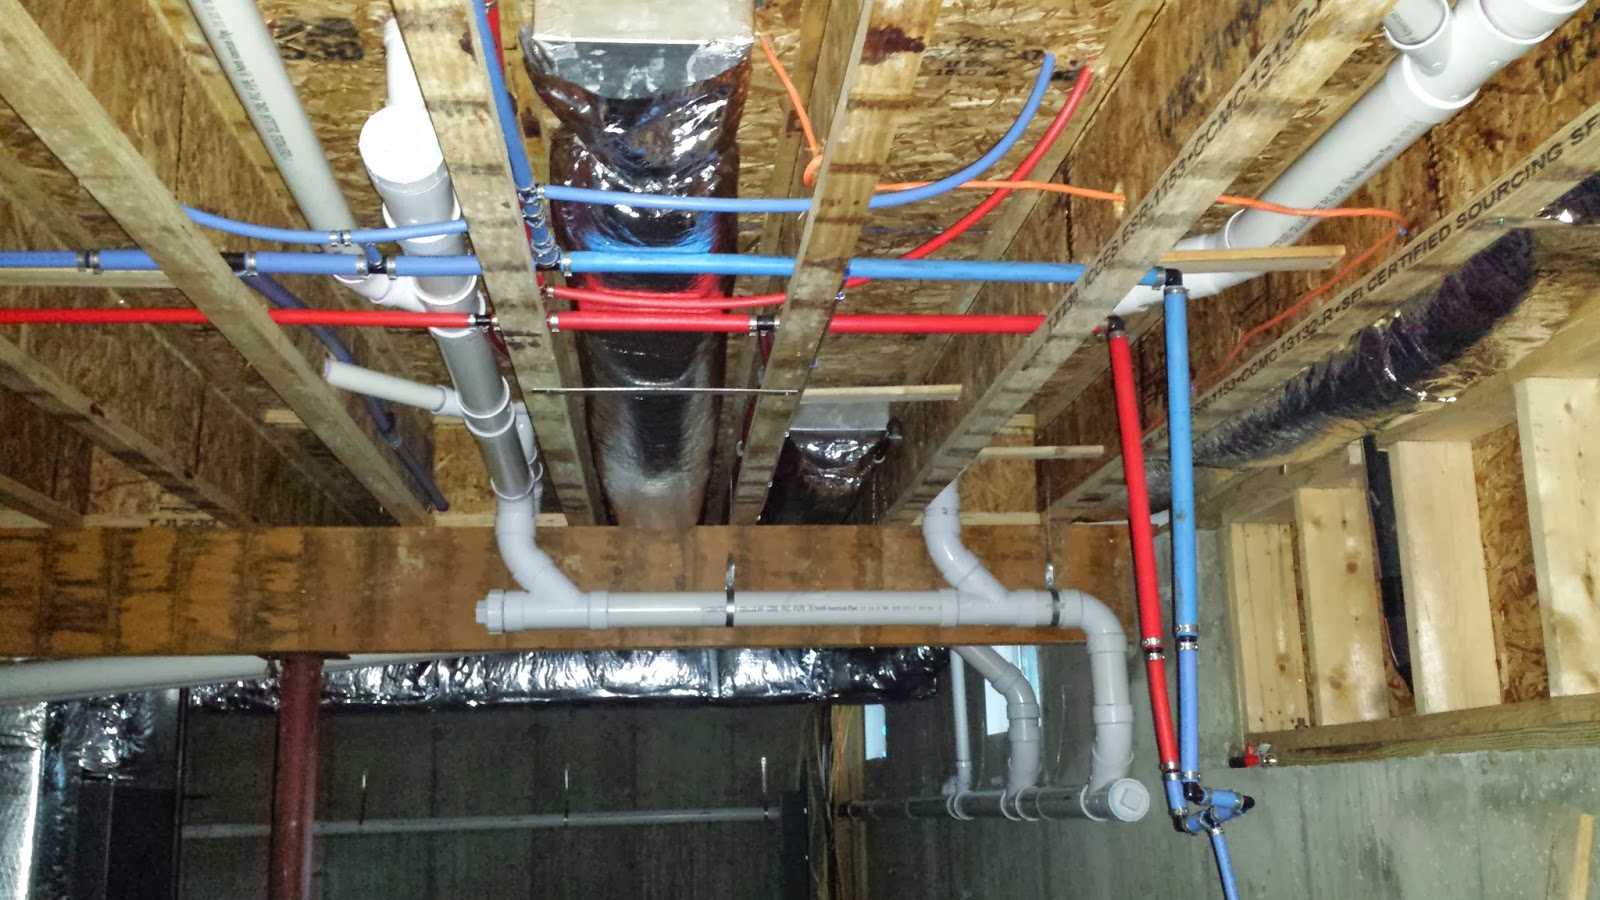
Pex Tubing Used for Supply Lines
It's quicker and easier to install than copper pipes

Red for Hot and Blue for ...

Drains & Supply Lines in the Laundry Room

Clamps are Used to Attach the Pex Tubing to the Shower Faucet

Metal Plates cover the Lines to Protect them from Sheetrock Screws

From the Guest Bathroom, to the Laundry Room to the Master Bath
 
 
Future Water Heater Location
They pressurize the line to test for leaks and
monitor it with the gauge

Lots of Pipe

The rough plumbing is pretty much complete. You don’t realize how much piping is run until you look back at the pictures of pipes stacked up or in rolls. Now we have supply lines and drains running from future sinks and toilets and showers and a bath tub through walls and floors and vents through the roof. We have a Master Bath, Guest bath and future baths in the Room over the Garage and in the Basement. There’s a Laundry Room and a Kitchen. And outdoor faucets.

 It’s an incredible amount of work and to think it all gets hidden behind walls never to be seen again. We hope. But like the wiring, it brings the house through one more phase and brings us closer too moving in. Once the rough wiring and plumbing is completed and inspected the insulation can get started. And then the sheetrock and then plastering and so on.

Just when you think you’re close…